![[Lifetime Warranty] 9-100-9001 UWF Connector Assembly and D20 Hose Swivel, D15 Feed Hose Nut](/images/getbluestarsparts.shop/images/product/91009001-uwf-connector-assembly-and-d20-hose-swivel-d15-feed-hose-nut-1.jpg)
$8.19
Original: $27.29
-70%[Lifetime Warranty] 9-100-9001 UWF Connector Assembly and D20 Hose Swivel, D15 Feed Hose Nut—
$27.29
$8.19The Story
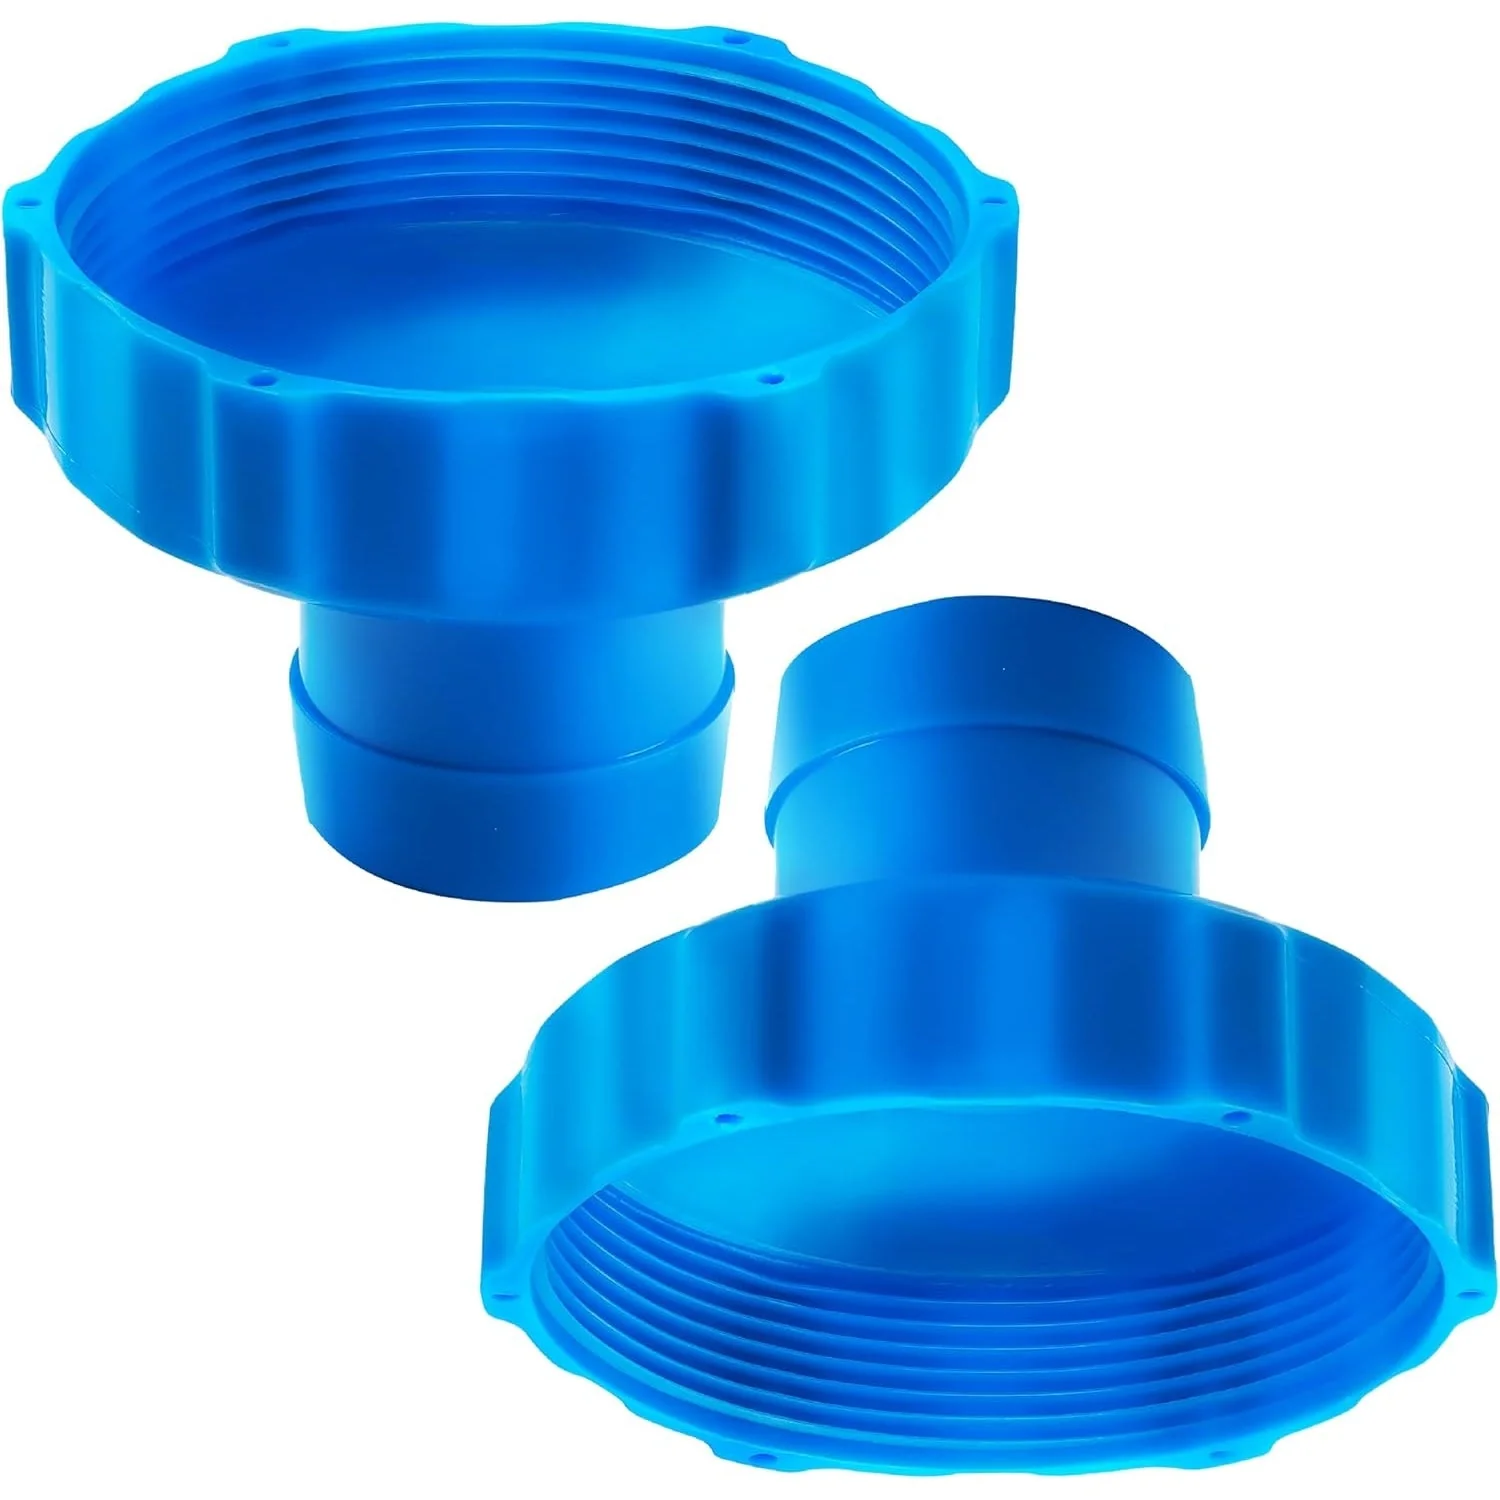
9-100-9001 UWF Connector Assembly and D20 Hose Swivel, D15 Feed Hose Nut
Key Features
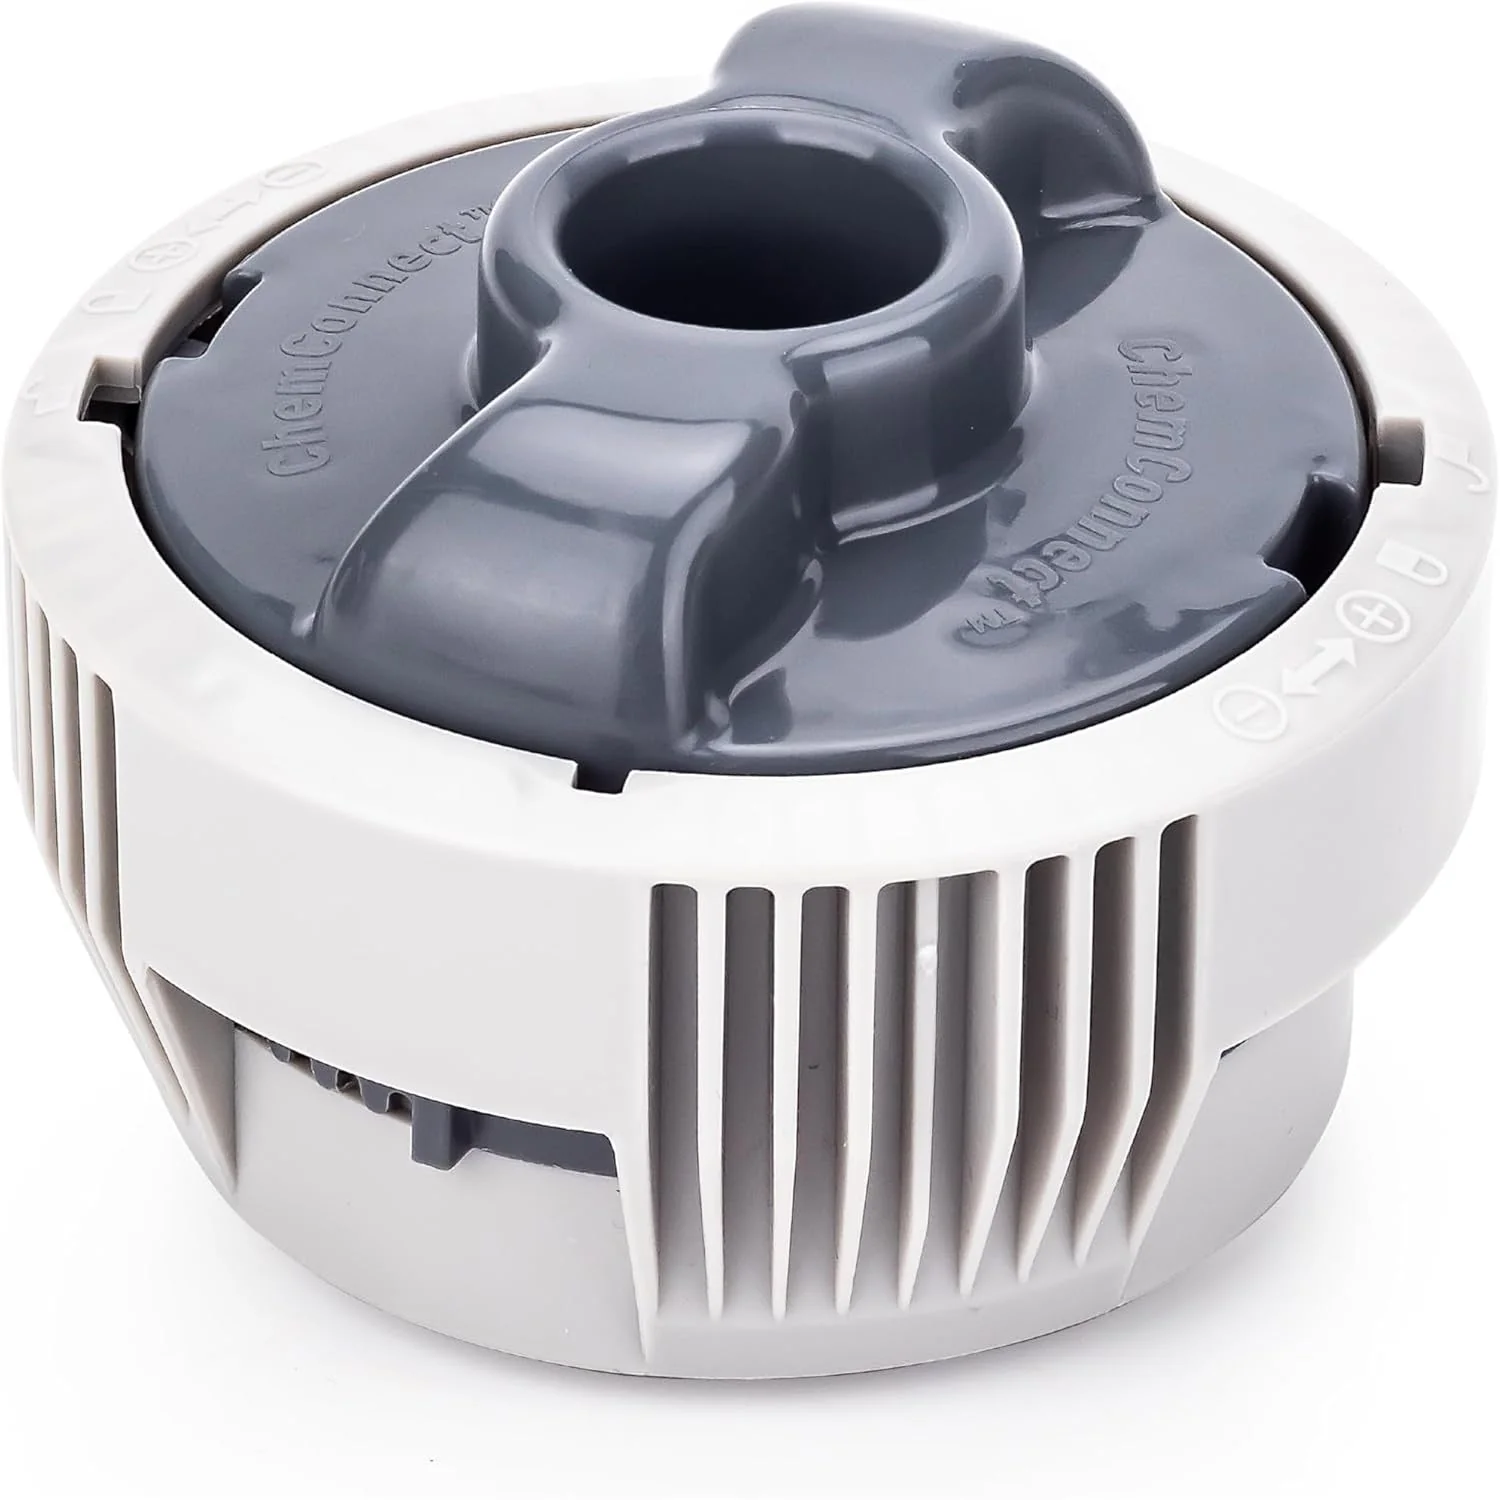
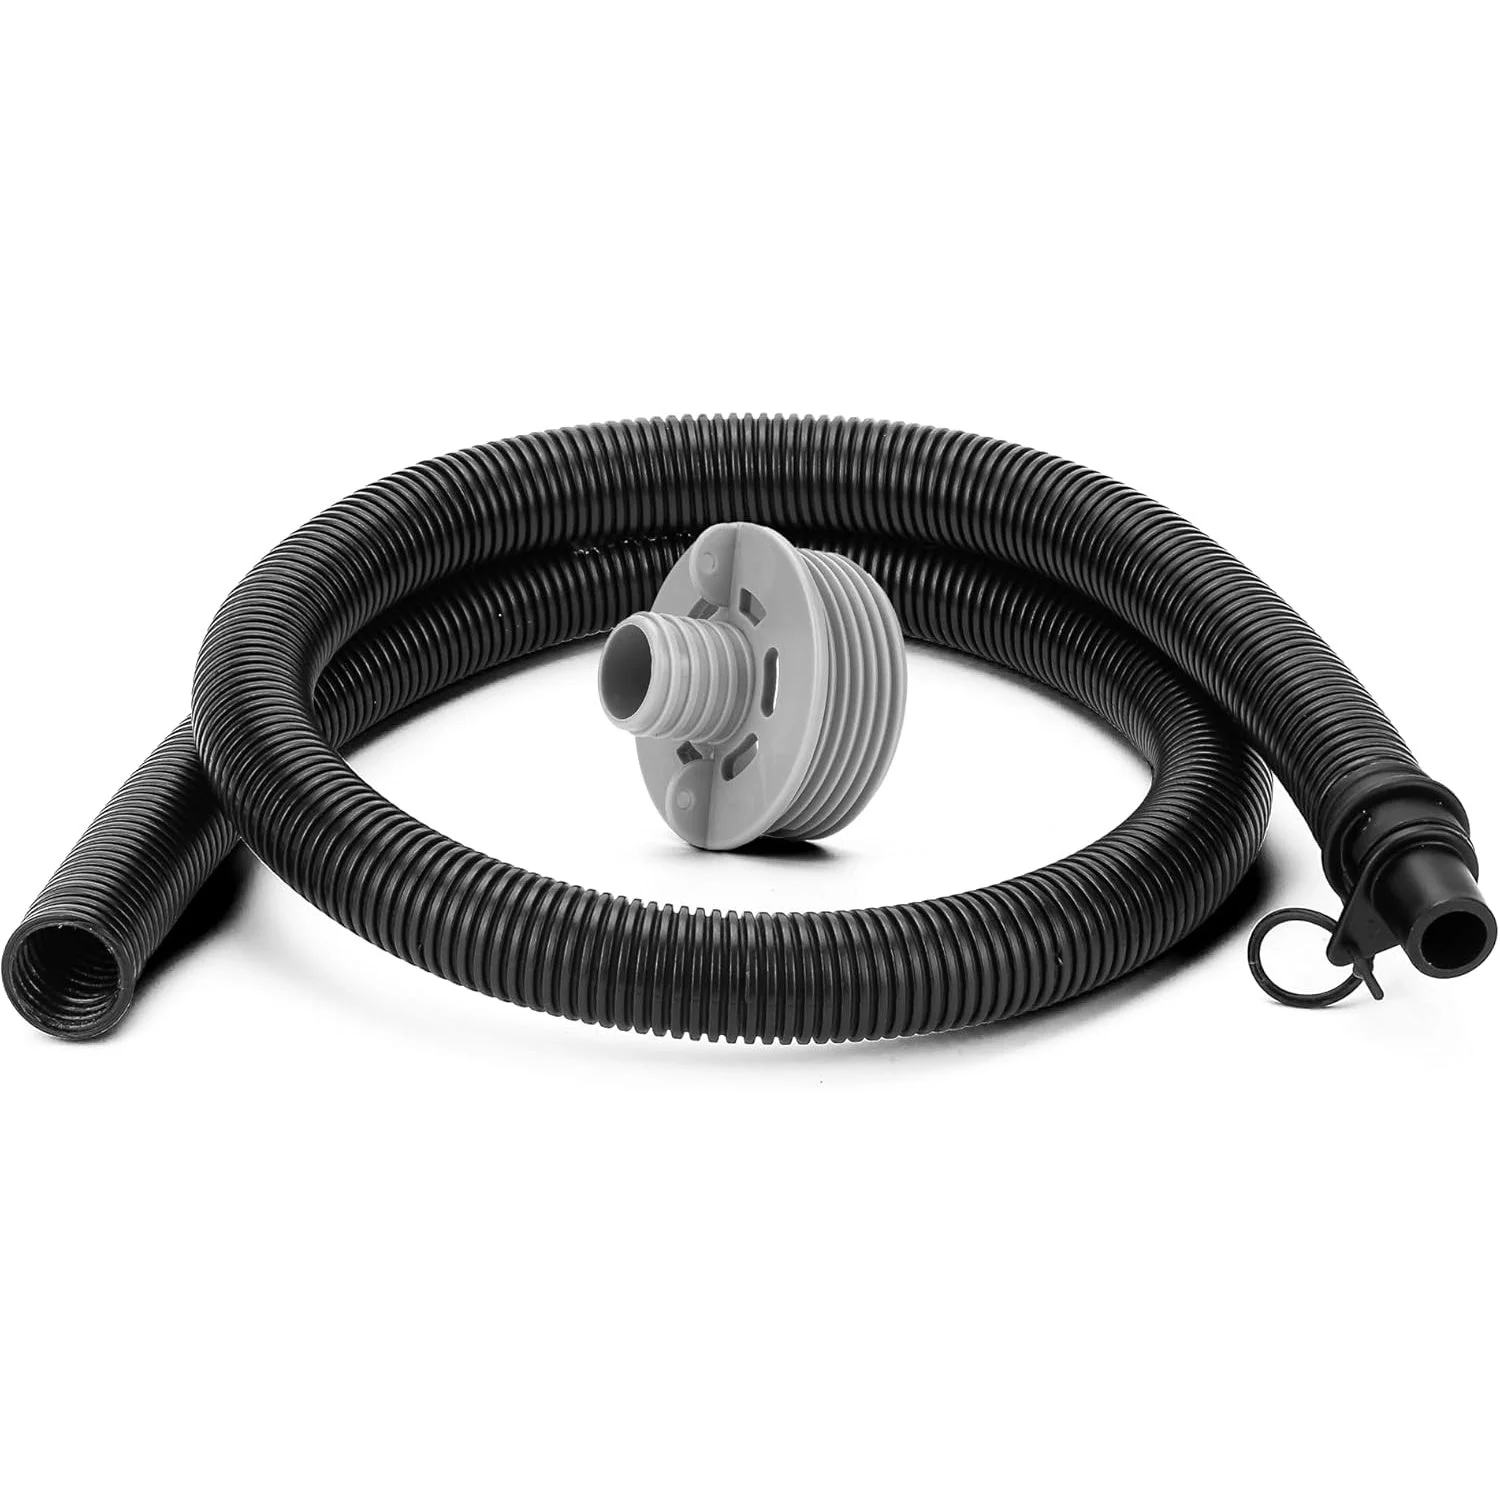
- Connects the pool cleaner's feed hose directly to the dedicated pressure-side return line.
- Facilitates pressurized water flow to operate pressure-side pool cleaners.
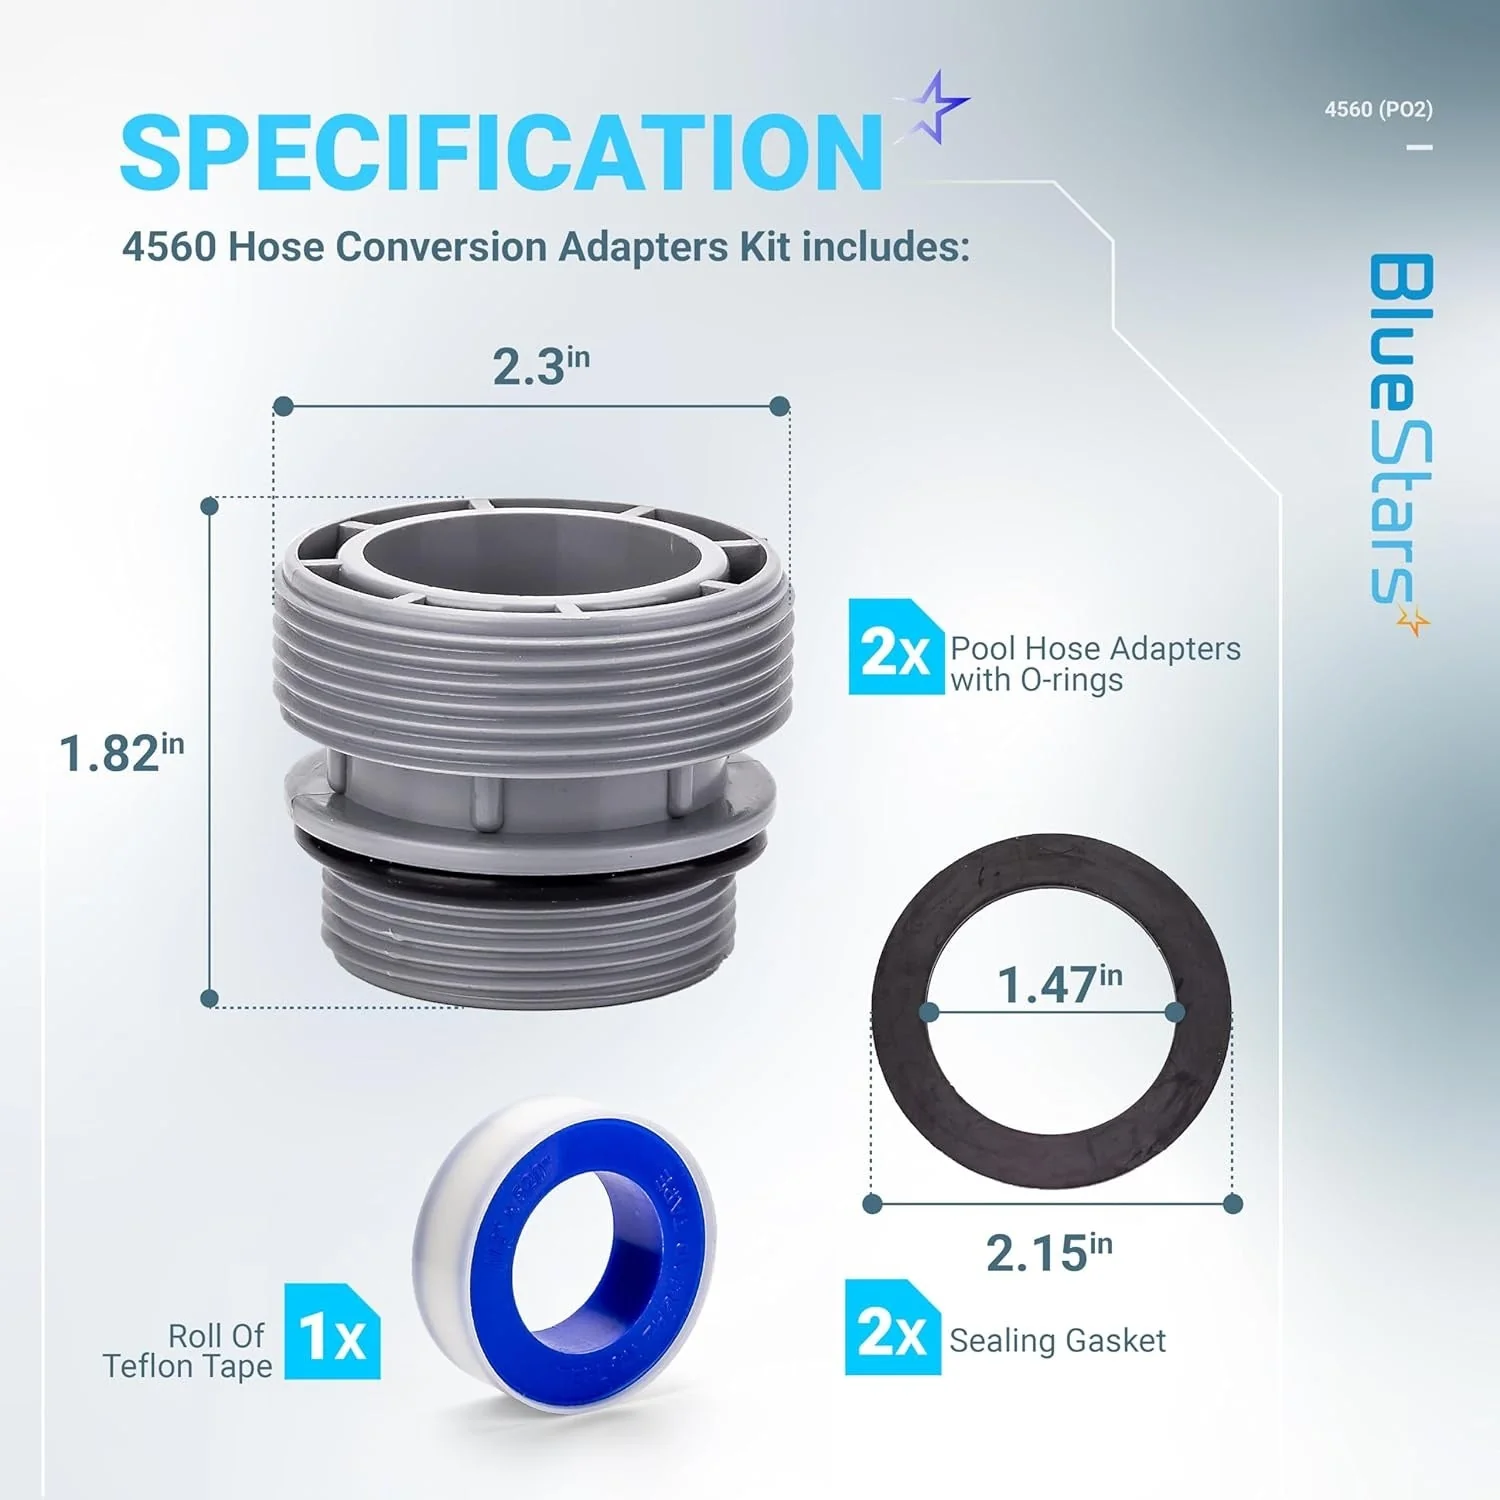
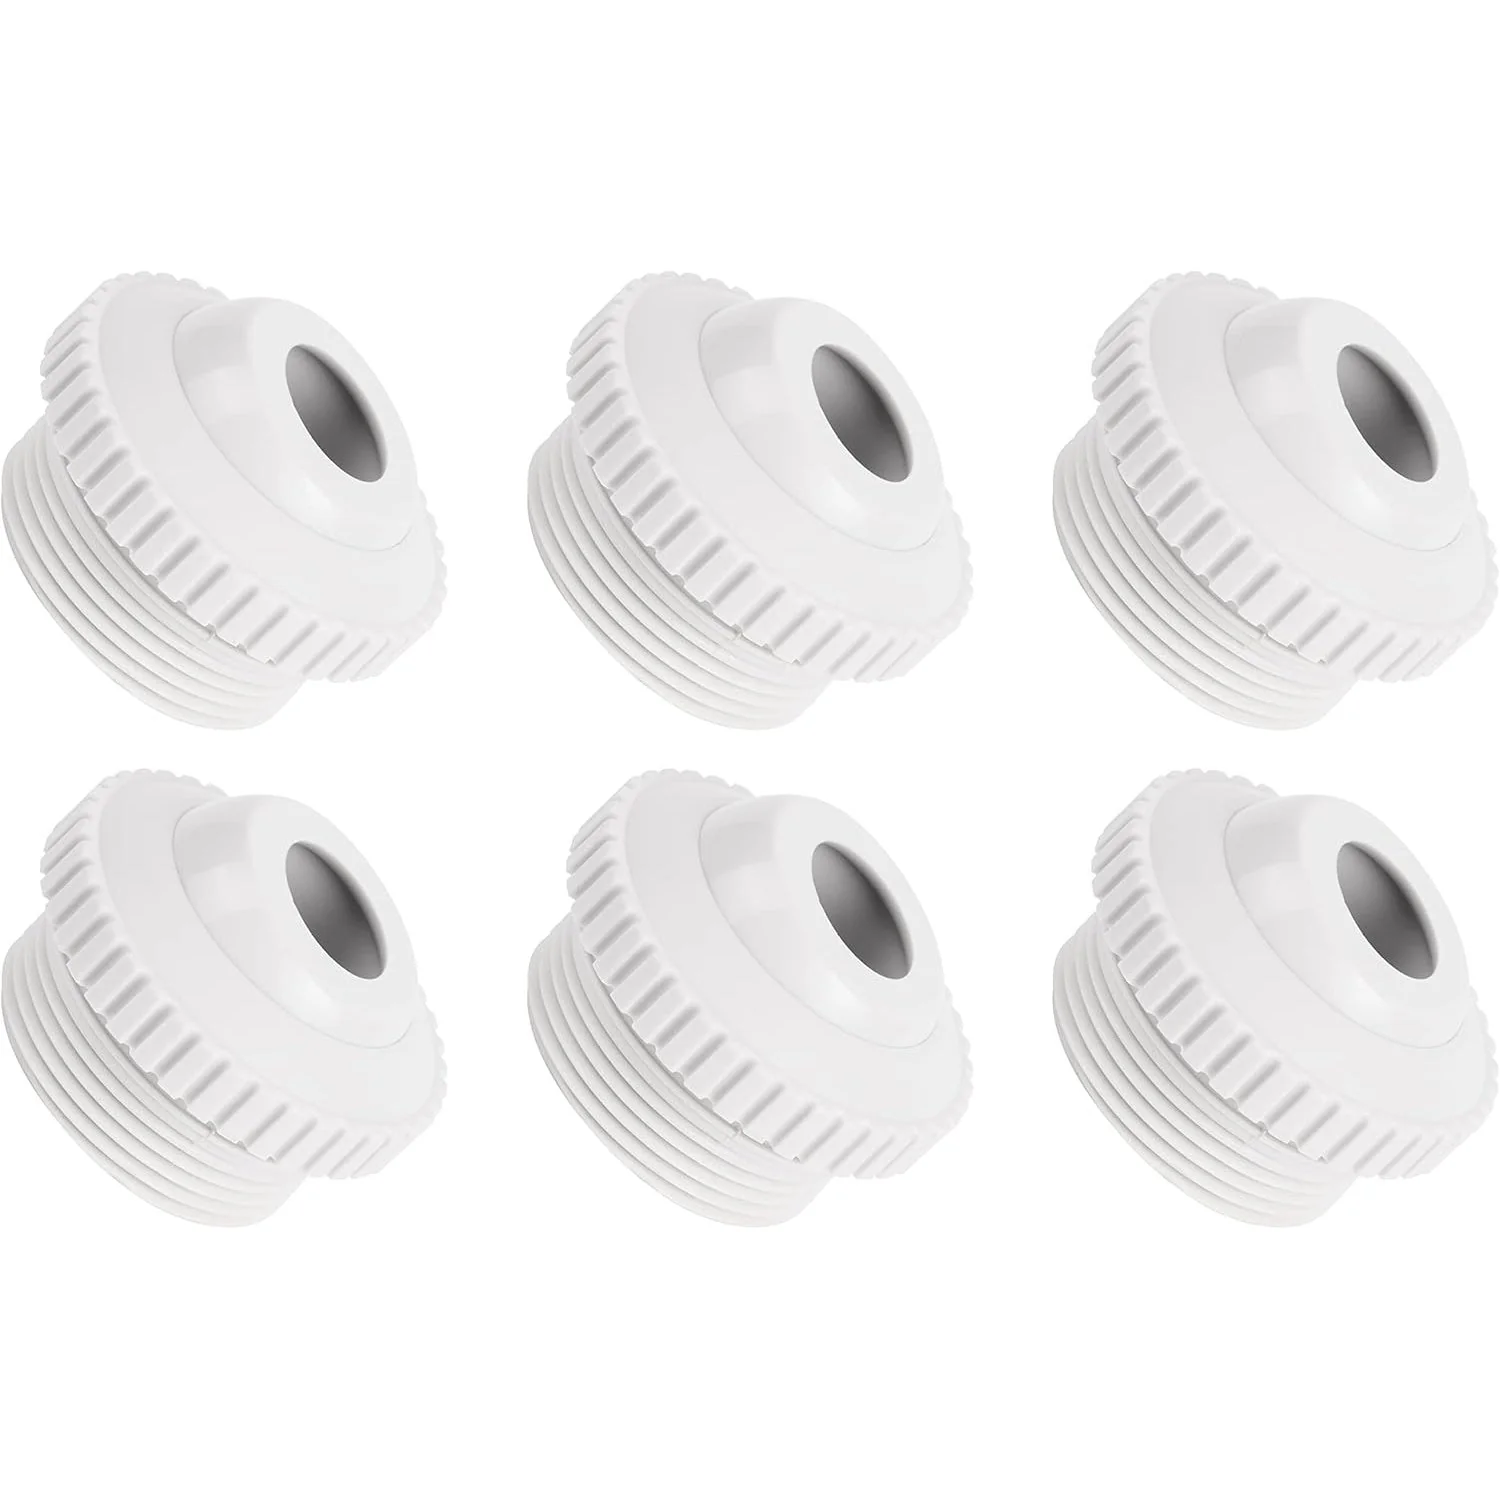
- Kit includes the primary universal wall fitting (UWF), hose swivels, and feed hose nuts.
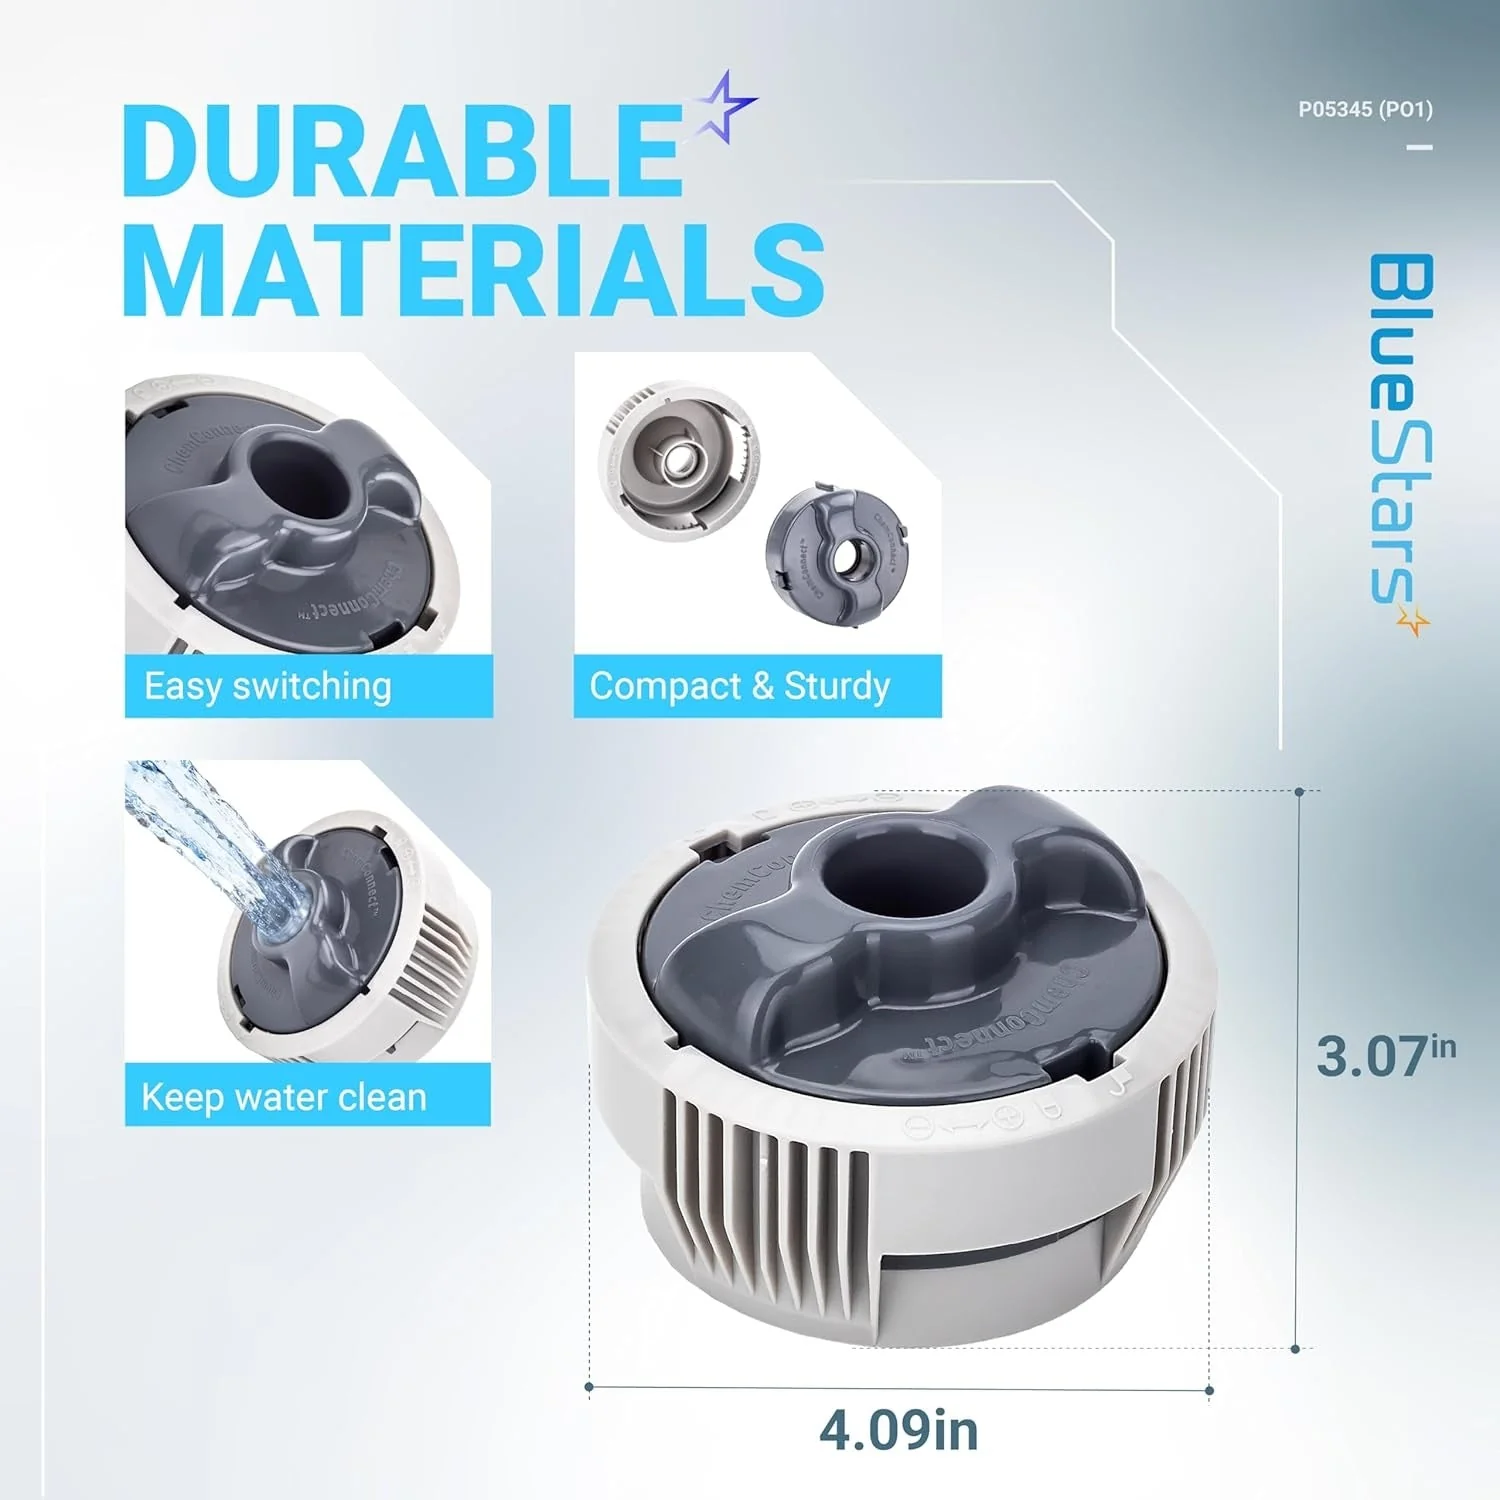
- Durable polymer construction resists pool chemicals and wear.
Replaces / Cross-Reference Part Numbers
- Universal Wall Fitting (UWF) Connector: 9-100-9001, EW22
- Hose Swivel: D20
- Feed Hose Nut: D15
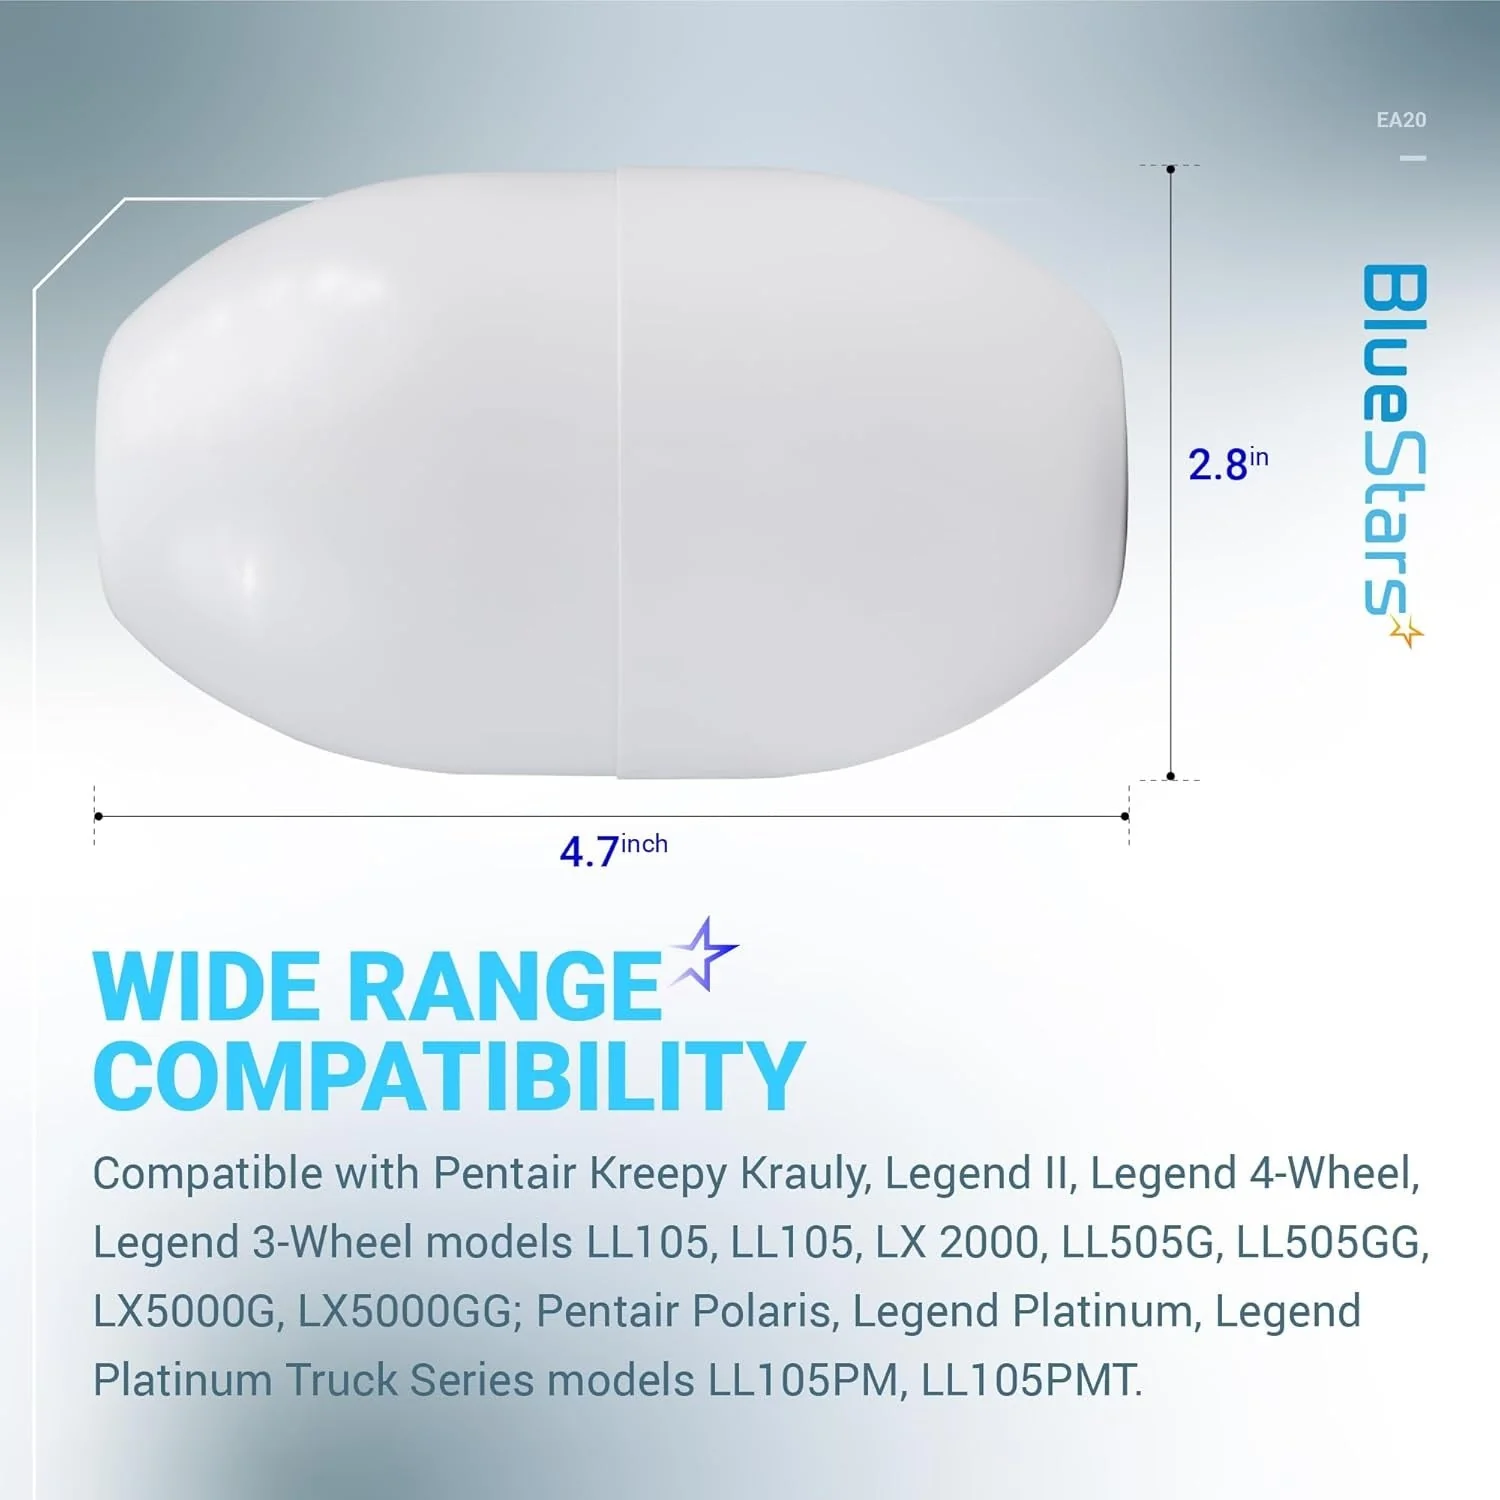
Compatibility & Fitment
- Zodiac Polaris Models: 180, 280, 380, 480 PRO, 3900 Sport
- Zodiac Polaris Vac-Sweep Models: Vac-Sweep 180, Vac-Sweep 280, Vac-Sweep 380
When to Replace
- Visible cracks, discoloration, or physical damage to the connector, swivels, or nuts.
- Water leaks at the wall connection point or between hose sections.
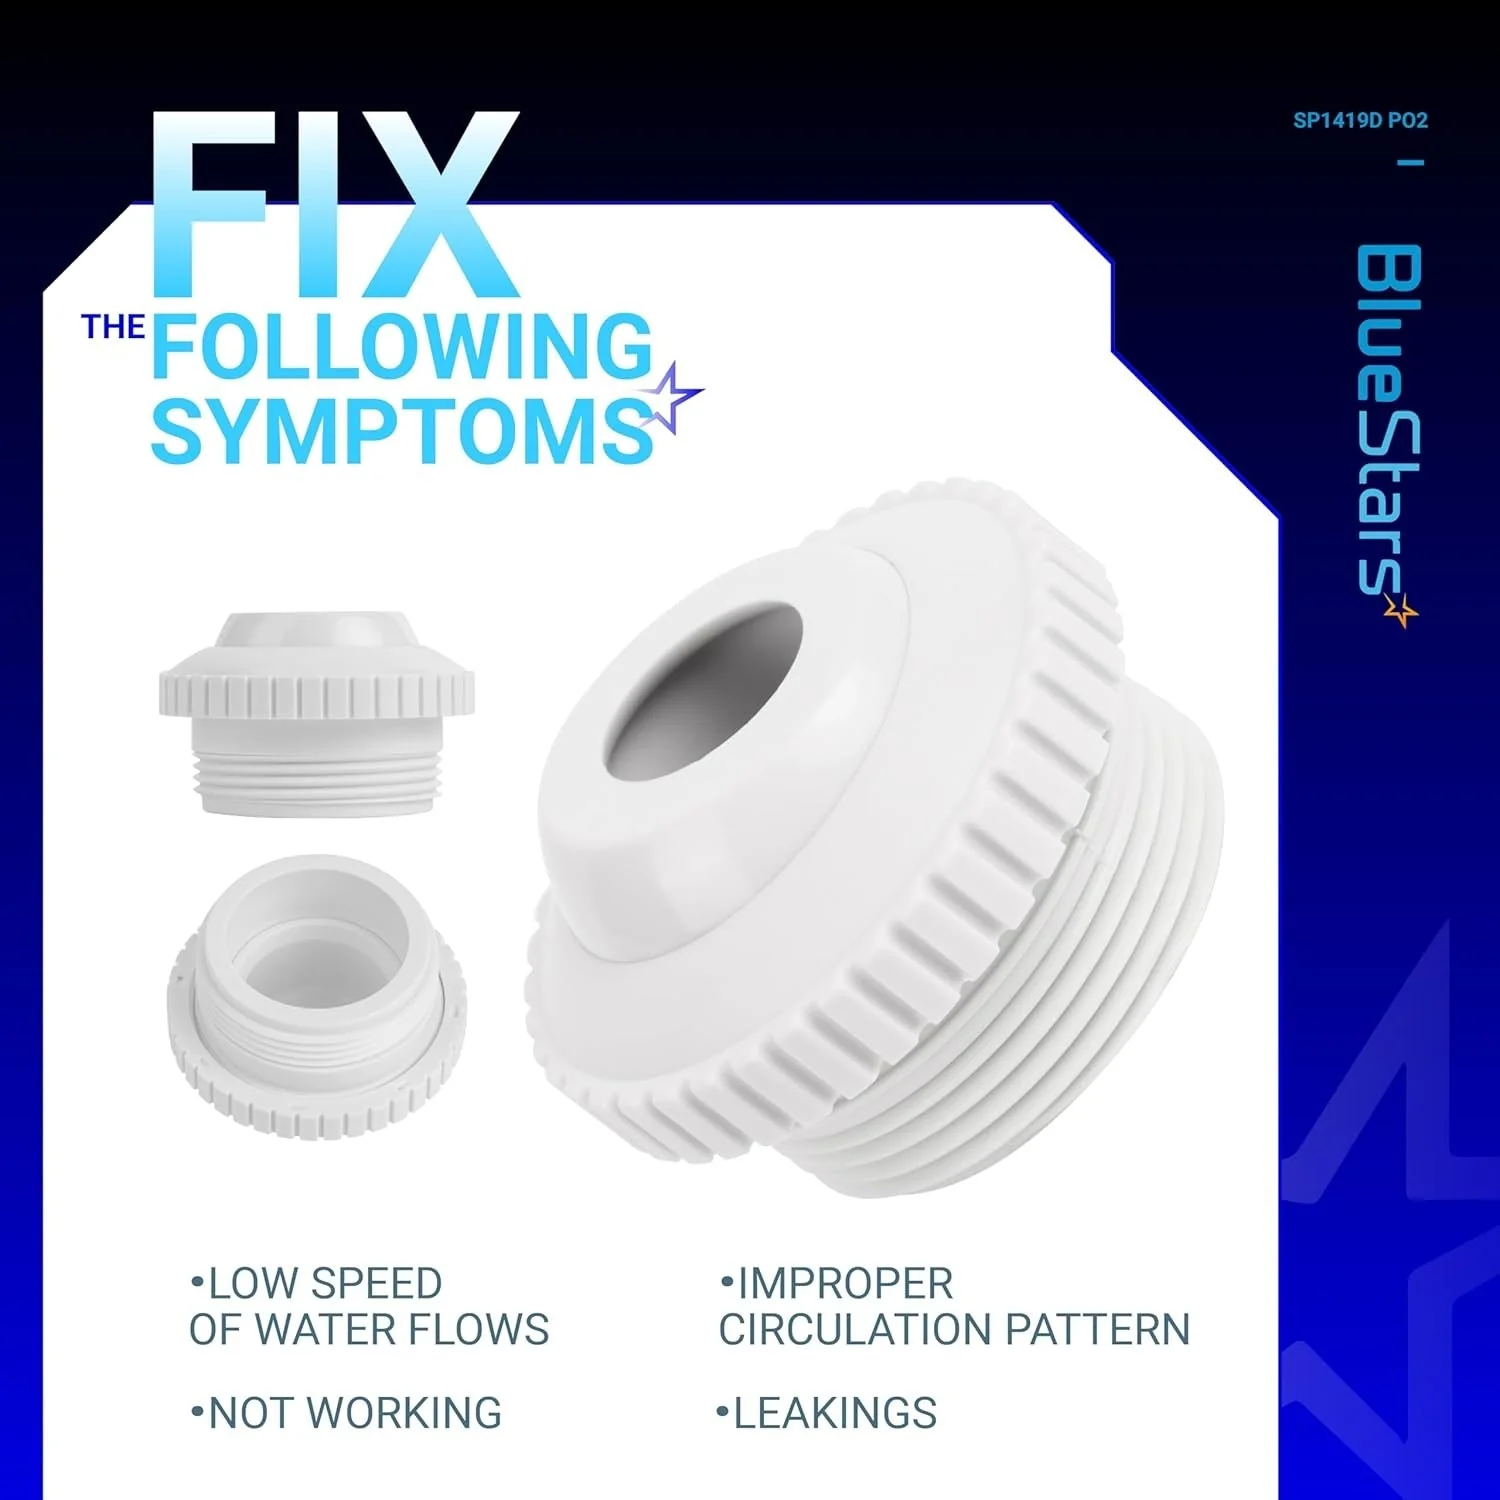
- Reduced water pressure to the cleaner, resulting in slow or erratic movement.
- Cleaner hose becomes tangled, indicating a seized or failing D20 swivel.
- D15 hose nuts are stripped and can no longer secure the hose sections.
Installation Tips
- Always turn off the pool booster pump before starting installation.
- Unthread the old wall fitting from the pool's return line.
- For a secure, leak-free seal, apply a suitable thread sealant to the new fitting's threads.
- Screw the new 9-100-9001 connector into the wall fitting until hand-tight. Avoid over-tightening.
- Attach the feed hose using the D15 nuts and D20 swivels. Ensure connections are snug.
- After installation, turn the pump on and check all connection points for leaks.
Compatibility & Fitment
![[Lifetime Warranty] 9-100-9001 UWF Connector Assembly and D20 Hose Swivel, D15 Feed Hose Nut - Image 2](/images/getbluestarsparts.shop/images/product/91009001-uwf-connector-assembly-and-d20-hose-swivel-d15-feed-hose-nut-2.jpg)
Details & Craftsmanship
Every detail has been carefully considered to bring you the perfect product.
![[Lifetime Warranty] 9-100-9001 UWF Connector Assembly and D20 Hose Swivel, D15 Feed Hose Nut - Image 3](/images/getbluestarsparts.shop/images/product/91009001-uwf-connector-assembly-and-d20-hose-swivel-d15-feed-hose-nut-3.jpg)
Details & Craftsmanship
Every detail has been carefully considered to bring you the perfect product.
![[Lifetime Warranty] 9-100-9001 UWF Connector Assembly and D20 Hose Swivel, D15 Feed Hose Nut - Image 4](/images/getbluestarsparts.shop/images/product/91009001-uwf-connector-assembly-and-d20-hose-swivel-d15-feed-hose-nut-4.jpg)
Details & Craftsmanship
Every detail has been carefully considered to bring you the perfect product.
![[Lifetime Warranty] 9-100-9001 UWF Connector Assembly and D20 Hose Swivel, D15 Feed Hose Nut - Image 5](/images/getbluestarsparts.shop/images/product/91009001-uwf-connector-assembly-and-d20-hose-swivel-d15-feed-hose-nut-5.jpg)
Details & Craftsmanship
Every detail has been carefully considered to bring you the perfect product.
![[Lifetime Warranty] 9-100-9001 UWF Connector Assembly and D20 Hose Swivel, D15 Feed Hose Nut - Image 6](/images/getbluestarsparts.shop/images/product/91009001-uwf-connector-assembly-and-d20-hose-swivel-d15-feed-hose-nut-6.jpg)
Details & Craftsmanship
Every detail has been carefully considered to bring you the perfect product.
![[Lifetime Warranty] 9-100-9001 UWF Connector Assembly and D20 Hose Swivel, D15 Feed Hose Nut - Image 7](/images/getbluestarsparts.shop/images/product/91009001-uwf-connector-assembly-and-d20-hose-swivel-d15-feed-hose-nut-7.jpg)
Details & Craftsmanship
Every detail has been carefully considered to bring you the perfect product.
![[Lifetime Warranty] 9-100-9001 UWF Connector Assembly and D20 Hose Swivel, D15 Feed Hose Nut - Image 8](/images/getbluestarsparts.shop/images/product/91009001-uwf-connector-assembly-and-d20-hose-swivel-d15-feed-hose-nut-8.jpg)
Details & Craftsmanship
Every detail has been carefully considered to bring you the perfect product.
![[Lifetime Warranty] 9-100-9001 UWF Connector Assembly and D20 Hose Swivel, D15 Feed Hose Nut - Image 9](/images/getbluestarsparts.shop/images/product/91009001-uwf-connector-assembly-and-d20-hose-swivel-d15-feed-hose-nut-9.jpg)
Details & Craftsmanship
Every detail has been carefully considered to bring you the perfect product.
Description
9-100-9001 UWF Connector Assembly and D20 Hose Swivel, D15 Feed Hose Nut
Key Features
- Connects the pool cleaner's feed hose directly to the dedicated pressure-side return line.
- Facilitates pressurized water flow to operate pressure-side pool cleaners.
- Kit includes the primary universal wall fitting (UWF), hose swivels, and feed hose nuts.
- Durable polymer construction resists pool chemicals and wear.
Replaces / Cross-Reference Part Numbers
- Universal Wall Fitting (UWF) Connector: 9-100-9001, EW22
- Hose Swivel: D20
- Feed Hose Nut: D15
Compatibility & Fitment
- Zodiac Polaris Models: 180, 280, 380, 480 PRO, 3900 Sport
- Zodiac Polaris Vac-Sweep Models: Vac-Sweep 180, Vac-Sweep 280, Vac-Sweep 380
When to Replace
- Visible cracks, discoloration, or physical damage to the connector, swivels, or nuts.
- Water leaks at the wall connection point or between hose sections.
- Reduced water pressure to the cleaner, resulting in slow or erratic movement.
- Cleaner hose becomes tangled, indicating a seized or failing D20 swivel.
- D15 hose nuts are stripped and can no longer secure the hose sections.
Installation Tips
- Always turn off the pool booster pump before starting installation.
- Unthread the old wall fitting from the pool's return line.
- For a secure, leak-free seal, apply a suitable thread sealant to the new fitting's threads.
- Screw the new 9-100-9001 connector into the wall fitting until hand-tight. Avoid over-tightening.
- Attach the feed hose using the D15 nuts and D20 swivels. Ensure connections are snug.
- After installation, turn the pump on and check all connection points for leaks.